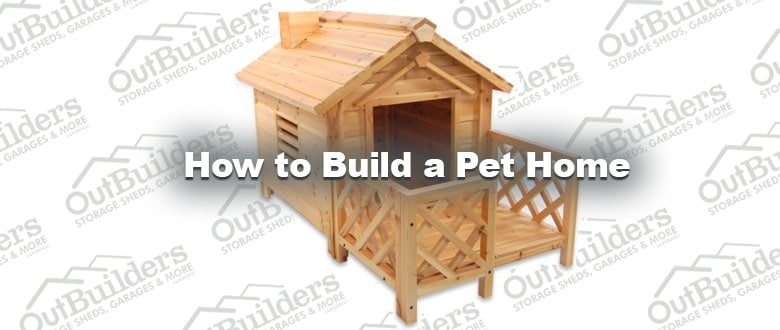
How to Build a Pet Home
Building your own Pet Home is an inexpensive way to create a special and stylish place for your pet. Start your project with cedar two by fours, one and a half inch cedar board, three inch outdoor plywood and use exterior screws. Make sure all your wood is treated for outdoor use so it can stand up against the elements. Treated chemicals in wood may hurt your pet, so just pressure treated pine would be a good alternative.
The first step is to use 2×4’s to create the floor frame. This will get the Pet Home off the ground to prevent your pet from getting cold. The box should be 36 x 48 inches. Try using mitered corners for a clean look. Add some 33 inch two by fours inside the main floor and porch to make it rich and then drill the floor with a 36 x 48 inch piece of exterior plywood. The plywood will help square the frame. At the bottom 2 x 4 plate should be 36 inches. Cut the two ends to 42 and a half and 45 and a half inches.
Then cut the center stud and top plate of 33 and then screw everything together securely. Repeat this process for the other wall to make two sidewalls that are 36 x 36 inches. The back wall size of 29 x 36 inches with 33 inch studs and the front wall has the same dimensions but includes different framing for the door. The bottom plates are nine and a half inches and there are two center studs which are 18 inches long with a head or length of 26 inches.
Attached two sidewalls to the floor. And fit the front and back on – in between – and then screw the walls together. Then, turn it on its side to the back and then screw the side walls with plywood. The door needs to be cut out with a circular saw size to fit your opening. Attach the cedar trim to all the corners and angles. The trim for the top and bottom is three quarters inch thick where the corners and door trim is/are. Make it three-inch-thick so it gets flushed to the top and bottom. Next, coat the house with a wood sealer. Blue exterior stain and clear sealing work the best.
After everything dries. It’s finally time to create the roof which has the same mitered framing as the floor. Except this time, you want to screw it with three quarter edge construction plywood which gives the roofing nails something a little bit thicker to attach to the trim around the roof and drip edge over the trim with asphalt shingles on the top. Place the roof on top of the main frame slope to the back of backstabs or three inches shorter. Then, secure the roof with four screws in the four corners studs. Lastly get creative with the finishing touches. Contact us today for us to build one for you!


Trackbacks/Pingbacks