The Ultimate Guide to Creating Your Own Small Outdoor Shed
Are you tired of cluttering your garage with gardening tools, outdoor equipment, and other odds and ends? Look no further! Creating your own small outdoor shed is not only a practical solution but also a fun and rewarding DIY project. In this ultimate guide, we’ll walk you through the steps to build your perfect outdoor sanctuary.
Step 1: Planning and Design
Before you pick up a hammer, start by planning and designing your small outdoor shed. Consider the purpose of the shed, the amount of storage space you need, and your available backyard area. Involve the entire family in the planning process to gather diverse perspectives and create a shed that meets everyone’s needs.
Step 2: Choose the Right Location
Selecting the ideal location for your outdoor shed is crucial. Ensure it’s easily accessible and complements your backyard landscape. Keep in mind the local building regulations and property lines to avoid any future disputes with neighbors.
Step 3: Gather Materials and Tools
Now it’s time to gather the necessary materials and tools. Depending on your design, you may need wood, nails, screws, roofing materials, and paint. Consider using sustainable and eco-friendly materials to reduce your shed’s environmental impact.
Step 4: Foundation
Building a solid foundation is essential to ensure the longevity of your outdoor shed. You can opt for a concrete slab, deck blocks, or gravel foundation. A proper foundation will also prevent your shed from shifting or sinking over time.
Step 5: Frame the Walls and Roof
Assemble the walls and roof according to your shed’s design. Enlist the help of friends or family members to make the process faster and more enjoyable. Safety should always be a top priority, so be cautious when using power tools and lifting heavy materials.
Step 6: Personalize the Interior
Once the structure is complete, it’s time to personalize the interior of your small outdoor shed. Add shelves, hooks, and racks to organize your tools and equipment efficiently. Consider repurposing old furniture or decorations to give your shed a unique and eclectic touch.
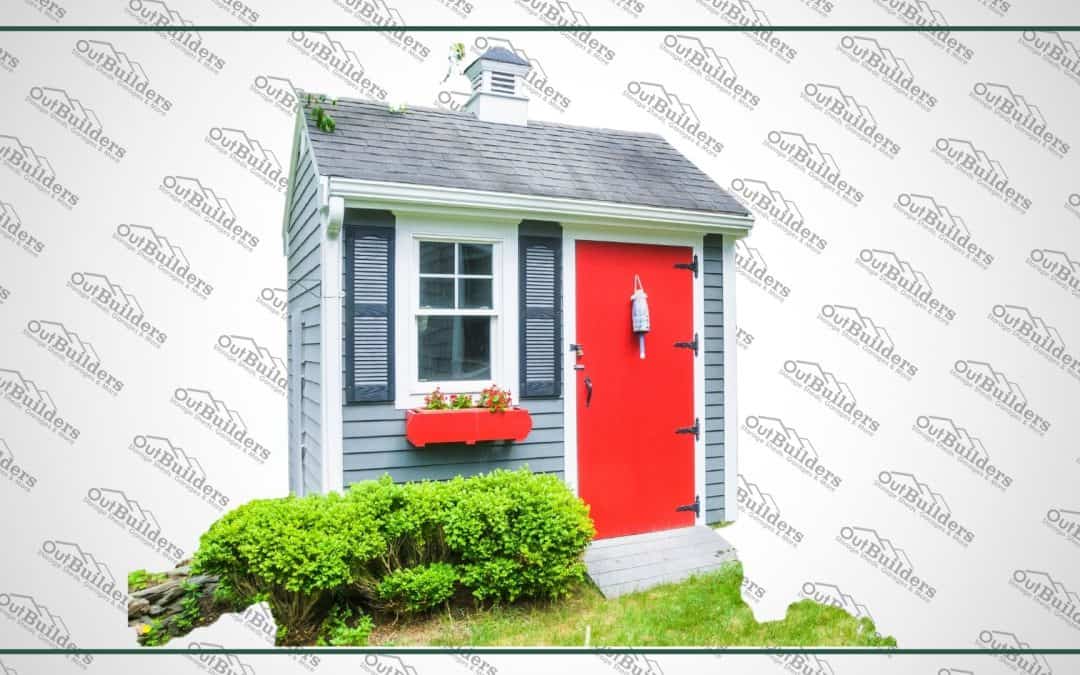
Step 7: Paint and Protect
Give your shed a fresh coat of paint to protect it from the elements and add some visual appeal. Use weather-resistant paint to ensure the color lasts for years to come. Your outdoor shed can become a beautiful addition to your backyard, reflecting your style and personality.
Step 8: Make It Functional and Versatile
Think about the versatility of your shed. Can it double as a mini-workshop, a playhouse for the kids, or a peaceful reading nook? Make the most of the space by adding functionality to suit different needs.
Step 9: Maintain and Upgrade
Regular maintenance is essential to keep your outdoor shed in top shape. Inspect for any signs of wear or damage and fix them promptly. Additionally, consider upgrading your shed with energy-efficient lighting or solar panels to reduce your carbon footprint.
Statistical Insight:
Did you know that over 70% of homeowners who build their own outdoor sheds report higher satisfaction levels with their homes? Creating a personalized space for storage and hobbies contributes significantly to overall well-being.
Now that you have all the steps laid out, it’s time to get started on your outdoor shed project! For high-quality lifetime outdoor storage shed options and professional assistance, visit Outbuilders.com. They offer a wide range of durable and customizable sheds that will complement your backyard and meet all your storage needs.


Recent Comments