Simple Steps In Creating Your Child’s Playhouse Central Oregon
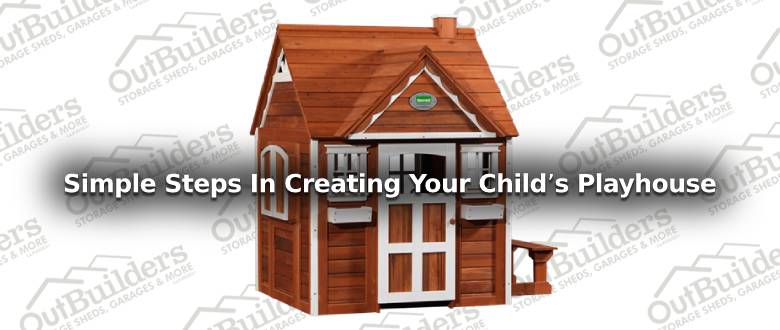
It is every child’s dream to have their own play house central oregon right at their backyard. You may able to create one with the help of this article. We will teach you some basic steps on how you can create a useful and enjoyable playhouse for your kids.
Step 1. Create the Floor Frame
First, make sure that you got a spacious area on your backyard to place the playhouse or the toy house central oregon. Next is to do the cutting and fastening all the treated beams to build a frame for the floor. Make use of proper size nails to secure all the frame pieces altogether. Posts must be placed onto the ground to help indicate where the corners are since you’ll need to set aside the finished frame for a while to finish the next step.
Step 2. Leveling the Foundation
Prepare the flat paving stones and sands that will be used to build a level foundation wherein the posts will be placed on. Use a level or a string to make sure that all the paver have the same heights. It is necessary that extra paver and sand are placed in a deep area for the frame of the playhouse will not settle later.
Step 3. Tip on Flooring Installation
Fastened a piece of felt roofing using a staple, in between the beams and the floorboards to remove noises and to strengthen its durability against the weather. The felt will help stop the wood from rubbing, resulting in a much quieter floor.
Step 4. Putting the Floor Boards
First, start with the floorboards. It needs to be trimmed to go around the posts. When everything is in place, next is to install the remainder floor with the use of galvanized screws. Using pressure-treated decking can work perfectly for the playhouse’s floor area.
Step 5. Construct the Walls
First, secure altogether the primary structures of the walls on a flat surface. When completed, bound them into its proper place at the bottom base and onto the floor. Ensure that the walls are securely screwed or nailed toward each corner’s adjacent wall.
Step 6. Place the sheeting
In this step, you may use T-111 siding. Cut each piece in the precise size and place them outside the wall studs. Make use of a nail gun to fasten the sheets into the wall. You will notice as you secure the sheeting into the frame that the playhouse’s wall grows more solid and firm.
Step 7. Build and Place Roof Joists
Create a layout of a jig on the house floor, this will help make both building the roof trusses and attaching the gussets easier. After building the trusses, placed and secure them into the base of the eave using a screw.
Step 8. Placing the Roof
When all the trusses are securely in place, next is to place the roof sheeting using the same technique done with walls. Install a piece of aluminum drip edge to stop water from leaking into the sheeting. When everything is in position, next is to place the roofing felt using staples. Place shingles over the felt, beginning at the bottom until you have covered the whole area. Make sure that there are no open gaps and everything is tightly sealed to make the toy house central oregon weatherproof.
Step 9. Installed Windows
You may install the windows on the outside and secure it in place upon the exterior wall. Use caulk to seal the flange in between the wall and the window, and then use roofing nails through the nailing flange and against the frame of the playhouse.
Step 10. Designing the Playhouse
You may add your personal touches to the playhouse. You may look on the internet for sample images of playhouses to give you an idea of what you want to put as a design. Just make sure that it is something that will excite your child or you can have him or her join you in designing the play house central oregon.


neighbor is building a 2story playhouse with pool for grand kids in Bend Oregon…what are the set back rules from property line if any?