Build a Shed Using Storage Building Plans Redmond Oregon
Most homeowner’s problem when it comes to de-cluttering is the need of having a large storage space where they can put all their stuff in. Storing them in your garage and organizing them will give you indefinite time as to when you will see the mess once again. Thus, you definitely need to start creating storage building plans redmond oregon, to store and organize your stuff, either that is for gardening, mechanical, or a space to keep old toys and clothes.
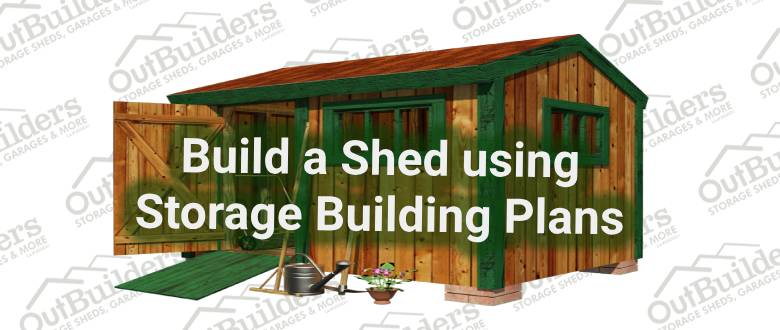
There are different types of storage sheds according to the size of your backyard and according to your needs. In this storage building plans redmond oregon, tutorial we used a
10 x 16 ft. big type of shed that is perfect not to serve as a storage space, but also as a play area for your children. It has double doors on each side so that it is much easier to get inside. With this size, we turned it into a colonial style of a shed with a division of 4 x 10Ft. area for tools and stuff, while the other 10 x 12ft. as a playroom.
Start at the bottom:
- The shed must be placed upon 12 blocks of sturdy brick as a foundation. The brick’s size must be around 4 x 8 x 16” and is placed in 3 rows that have 59” of spacing in between. In most cases, these blocks are laid directly on the ground, but if you put a 4” bed of gravel before it; it will prevent the possibility soil erosion which may cause damage to your shed. Used 2’ x 4’ and a 4’ level after you have placed down the 12 blocks. Next thing to do is to create both front and rear band joist by fastening a 2 x 6 to a 2 x 8 mudsill. Now place the mudsills on the top of the blocks, covering the front and the rear of the shed.
- Trim the 3rd 2 x 8 mudsill to suit along the top center of block foundation. Then, cut all the 2 x 6′ floor joists to proper length and placed them down in between the 2 band joints and onto the top of the mudsills.
- Arranged the joists in 16” between each one and fasten them securely in place using a galvanized nails. Next, make sure to use 4 steel-cabled ground anchors when you placed down the plywood that will be used as the shed’s flooring. Latch the anchors securely on each end corner of the frame. For the floorings, use ¾” tongue-and-groove ACX plywood to build a durable floor that won’t sag or bounce in time.
Building the Roof Trusses
- The trusses that you will use must be made of 2 x 4 rafters and a 2 x 4 ceiling joist. Secure together 3 boards using a 1/2in. plywood gussets. Now, begin to cut the rafters to a proper length with a 40° in each end. Next is to cut 2 x 4s to 10ft. long to be used for the bottom chords.
- Now, create the frame on the shed floor to assemble the trusses. Line up the lower part chord along with the border end of the plywood floor.
- After that cut 4 of 24″ long 2 x 4s. Set two beside each rafter and attach them to the plywood floor. Then, make use of these short boards as stop blocks for the installation of and building each truss. Secure plywood gussets to both sides of every truss using a carpenter’s glue which can be bought on every hardware stores, and 1″ of roofing nails and arranged the trusses away.
Setting up the Walls
Start by cutting 2×4 parts to be used for the end walls and placed them on the floor shed. Place the studs 24″ on its center and lock them using 16d nails. Next, trim the plywood siding to its proper size and fasten it to the wall’s framework using a 6d galvanized nails. Then, properly elevate the end wall in its proper location.
Once you have the walls in place, fasten them securely through the bottom plate onto the floor’s frame. Then, securely put in place the rear wall, accompanied by the front wall. Next, set up the interior division. If you are planning to add a playroom, put plywood as a cover and attach it in place. Lastly, put up the final wall.
Putting up the Roof Trusses
Begin by installing the end trusses, make sure that the plywood siding is nailed just before you raised the trusses up. Secure the trusses up by using 3” deck screws, driven onto the wall’s top plate. Next, set up the last roof trusses, cover with plywood, and fasten lastly the asphalt roof shingles.
Adding few more touches
For the windows, use a 5’ long transom type window using a wooden frame and a glass, and then placed it over the end doors.
As for the door, use tongue-and-groove cedar boards and battens. Fastened the battens using 1-1/2” screw and placed the doors using sturdy strap hinges.
There are more other types of sheds that you can make according to the area of your backyard. Kindly visit our website if you want to learn more and have other ideas about storage building plans redmond oregon.
Contact us now for more information.


Recent Comments